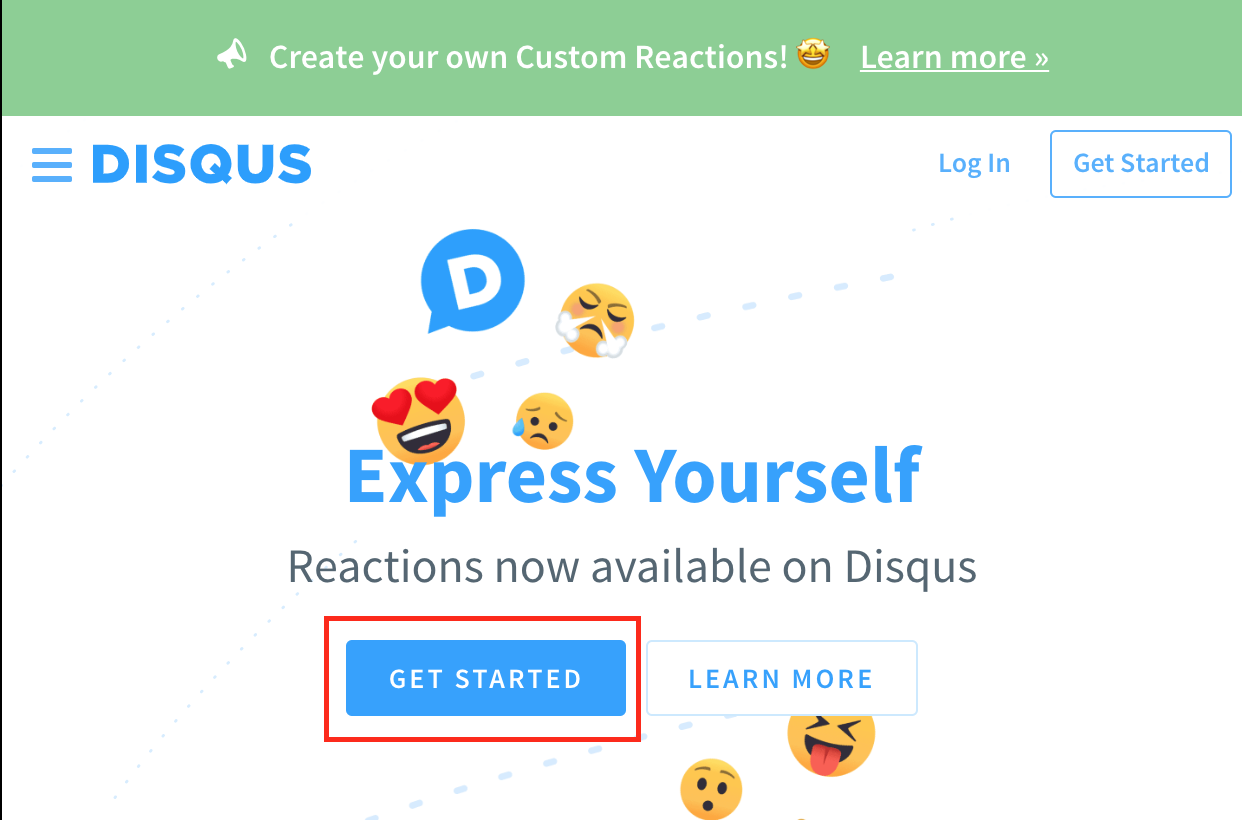
Step 1
disqus 가입 https://disqus.com/
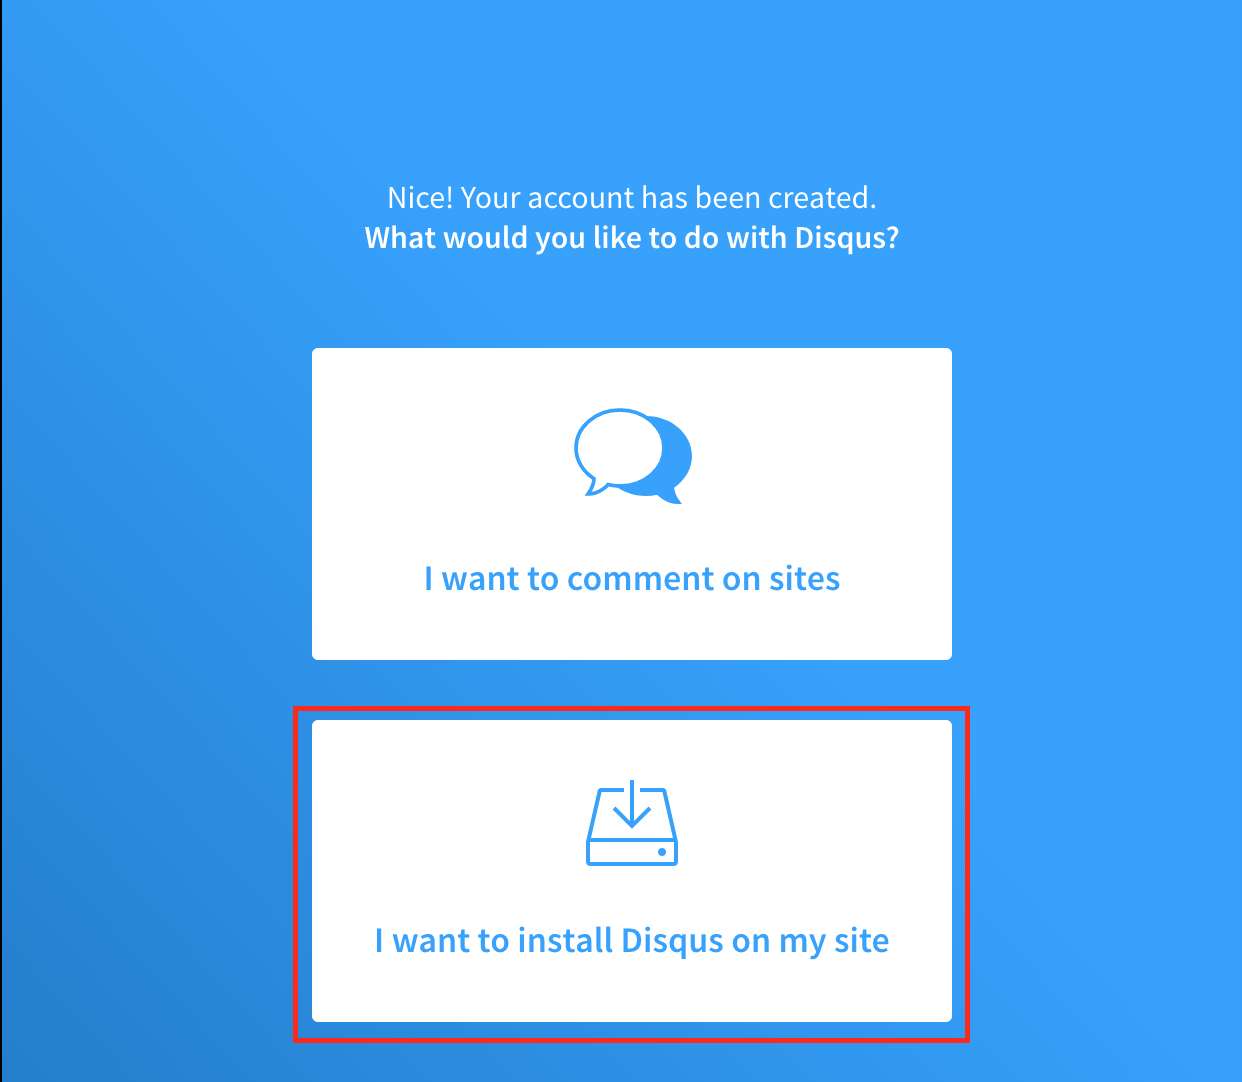
Step 2
I want to install Disqus on my site 선택
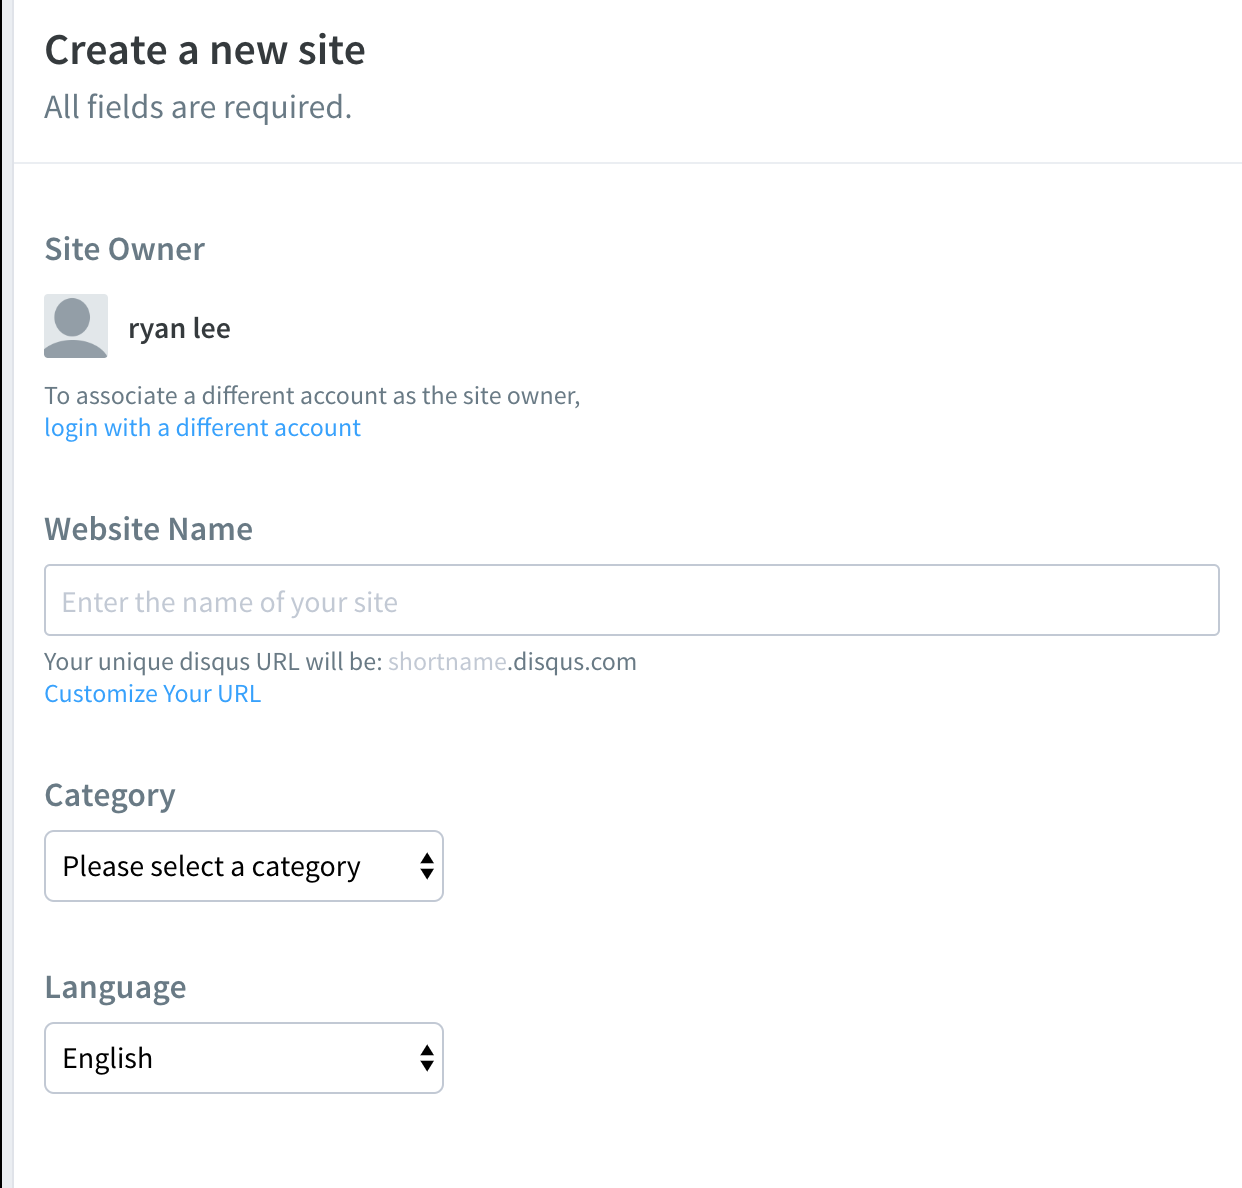
Step 3
website 이름 입력
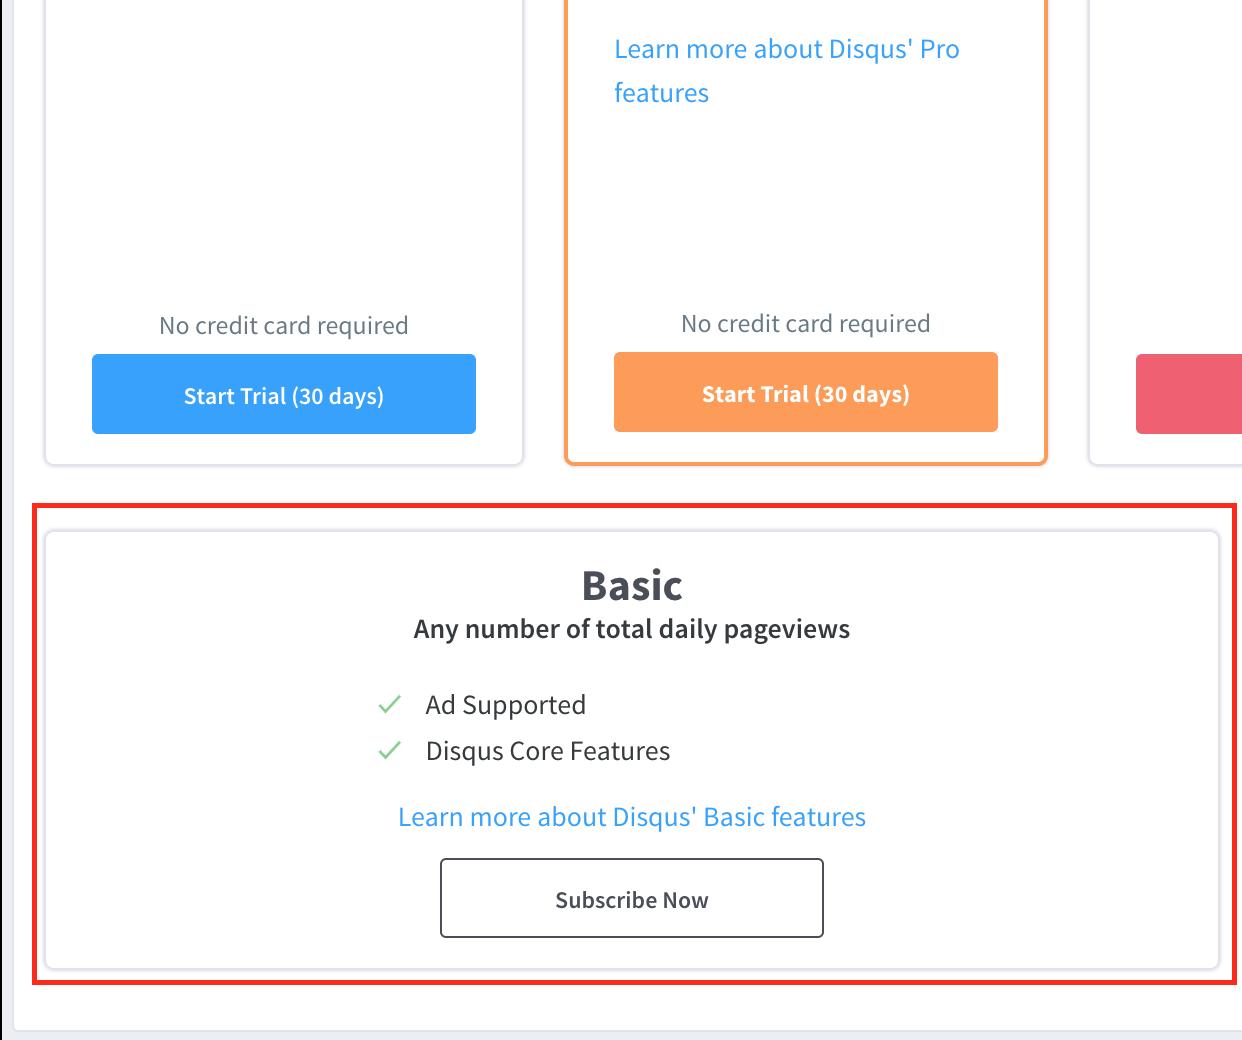
Step 4
무료 요금제인 Basic 선택
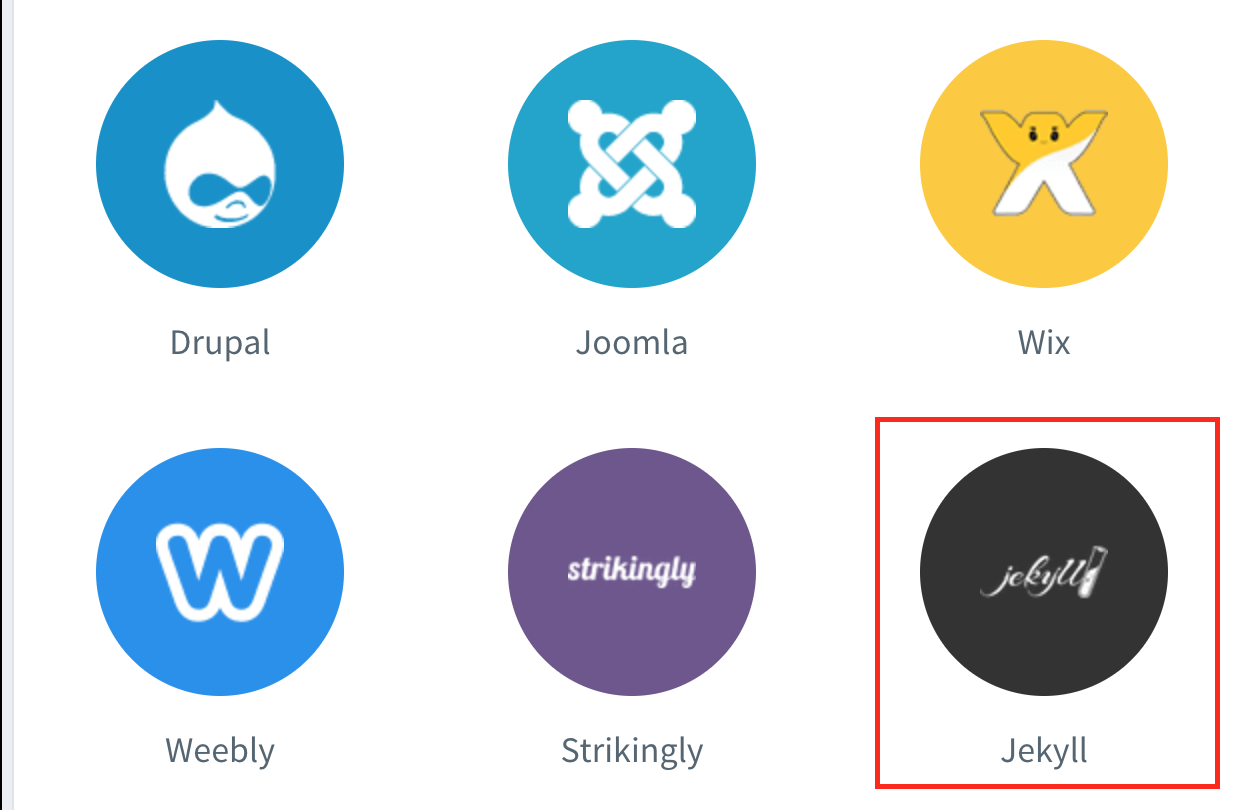
Step 5
Jekyll 플랫폼 선택
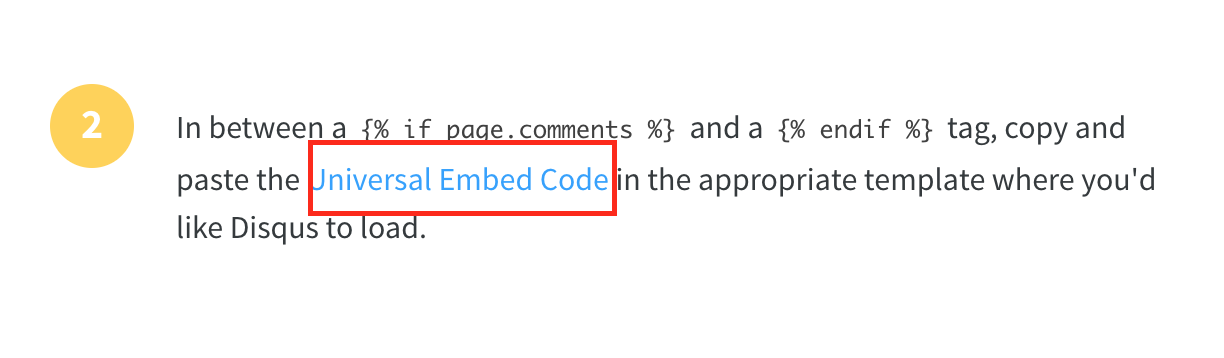
Step 6
Universal Embeded Code 클릭
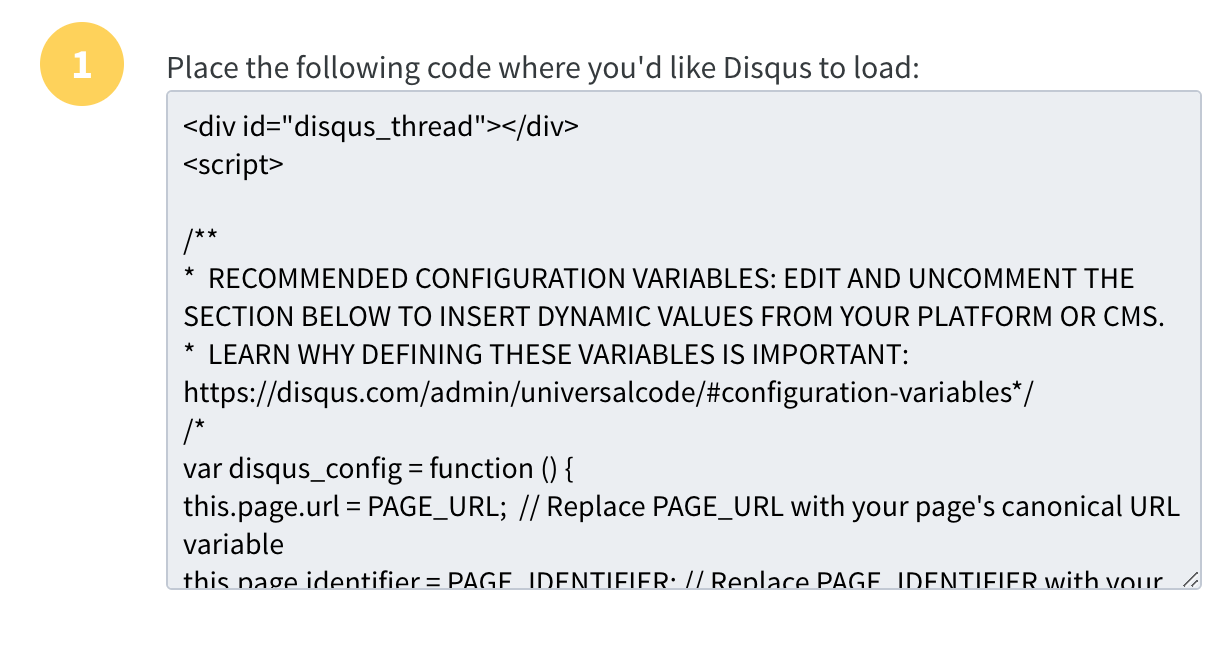
Step 7
본인의 Github 블로그에 /_includes/disqus_comments.html 파일 생성 후 1번 항목에 있는 내용 붙여넣기
Step 8
Step 7에서 생성한 /_includes/disqus_comments.html 파일의 내용 수정
...
...
<script>
	var disqus_config = function () {
		this.page.url = '{{ page.url | absolute_url }}';
      	this.page.identifier = '{{ page.url | absolute_url }}';
    };
...
...
...
Note: 원본 내용에서는 var disqus_config = function () 부분이 주석 처리 되어 있으나 주석을 해제하고 함수 내용 변경
Step 9
본인의 Github 블로그의 /_config.yml 파일을 확인하여 url 값이 설정되어 있는지 확인.
만약 설정되어 있지 않다면 본인의 블로그 주소로 설정할 것.
# --- Local development options ---
# If your website is hosted locally rather than on GitHub, then you need to uncomment the next two parameters to set the url and baseurl
# *** If you're not sure what this mean, then leave this section as it is. Only modify the url and baseurl if you know what you're doing!***

# url is the the website domain URL without a trailing slash
url: "https://stynxh.github.io"
---
Step 10
/_layouts/post.html 파일 수정
---
layout: base
comments: true
---
...
...
...
    {% if page.comments != false %}
	    {% include disqus_comments.html %}
    {% endif %}
Note 1: 상단에 comments: true 추가
Note 2: 하단에 코드 추가
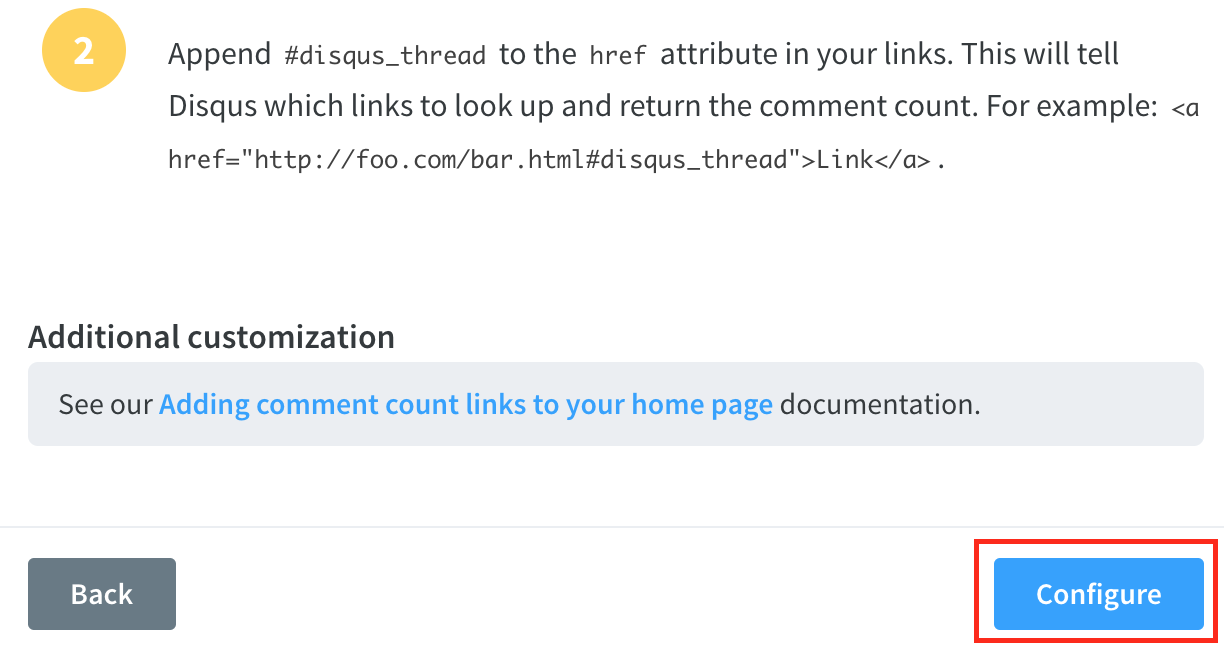
Step 11
disqus 페이지에서 Configure 클릭
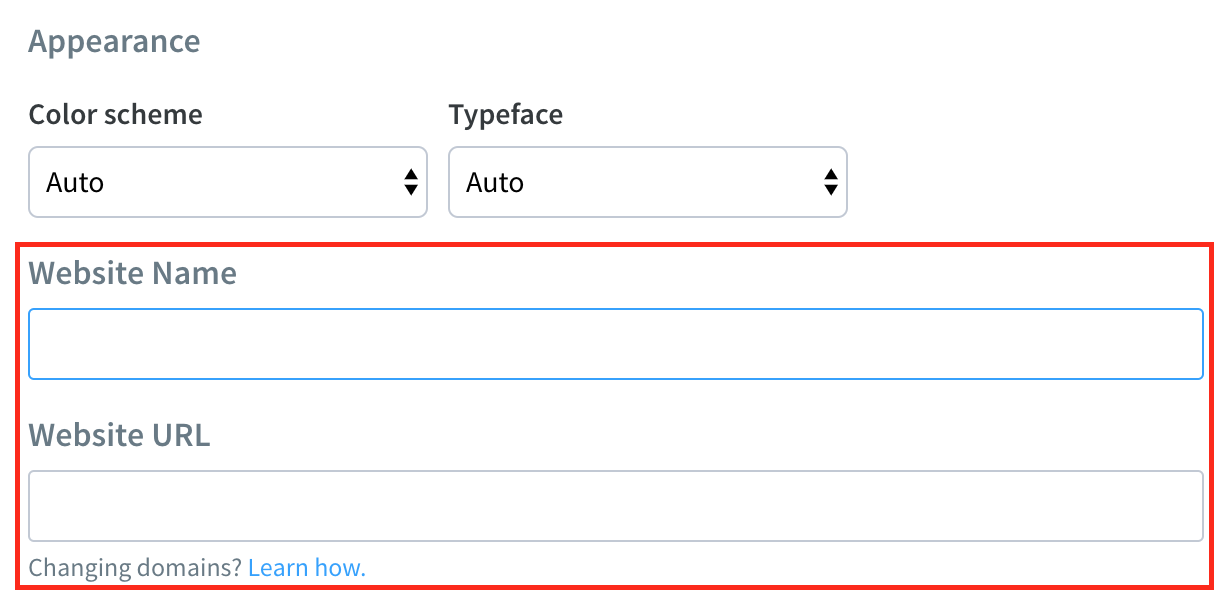
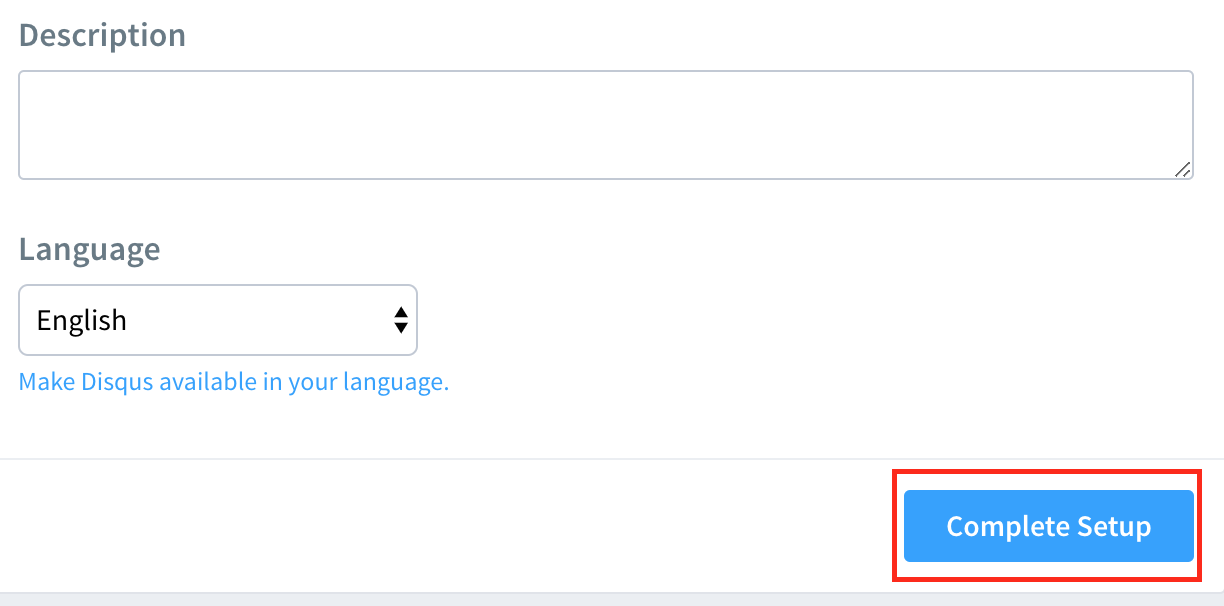
Step 12
website name 및 URL 입력 후 Complete Setup 클릭
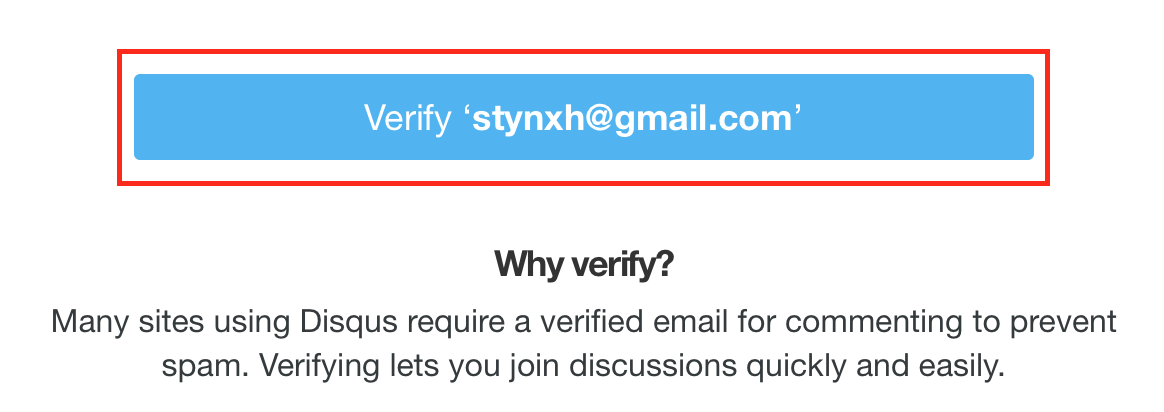
Step 13
disqus 가입시 입력한 이메일 주소로 전송된 disqus 메일 verify
결과